The Oasis AP-D Under Truck Mount Accessory Package is an indispensable solution offered by Oasis Air Compressors Mfg, tailored specifically for under-truck mounting configurations. This specialized package is designed to facilitate the installation of compressed air systems beneath trucks or other vehicles, providing convenience and versatility for mobile applications. The AP-D package includes all necessary components and hardware required for secure and efficient mounting, ensuring stability and durability even in rugged environments. With features such as reinforced brackets, vibration-resistant fittings, and corrosion-resistant materials, the AP-D package guarantees reliable performance and long-term durability under demanding conditions. Whether for service trucks, utility vehicles, or mobile workshops, the Oasis AP-D Under Truck Mount Accessory Package offers a comprehensive solution to optimize compressed air functionality in on-the-go settings.
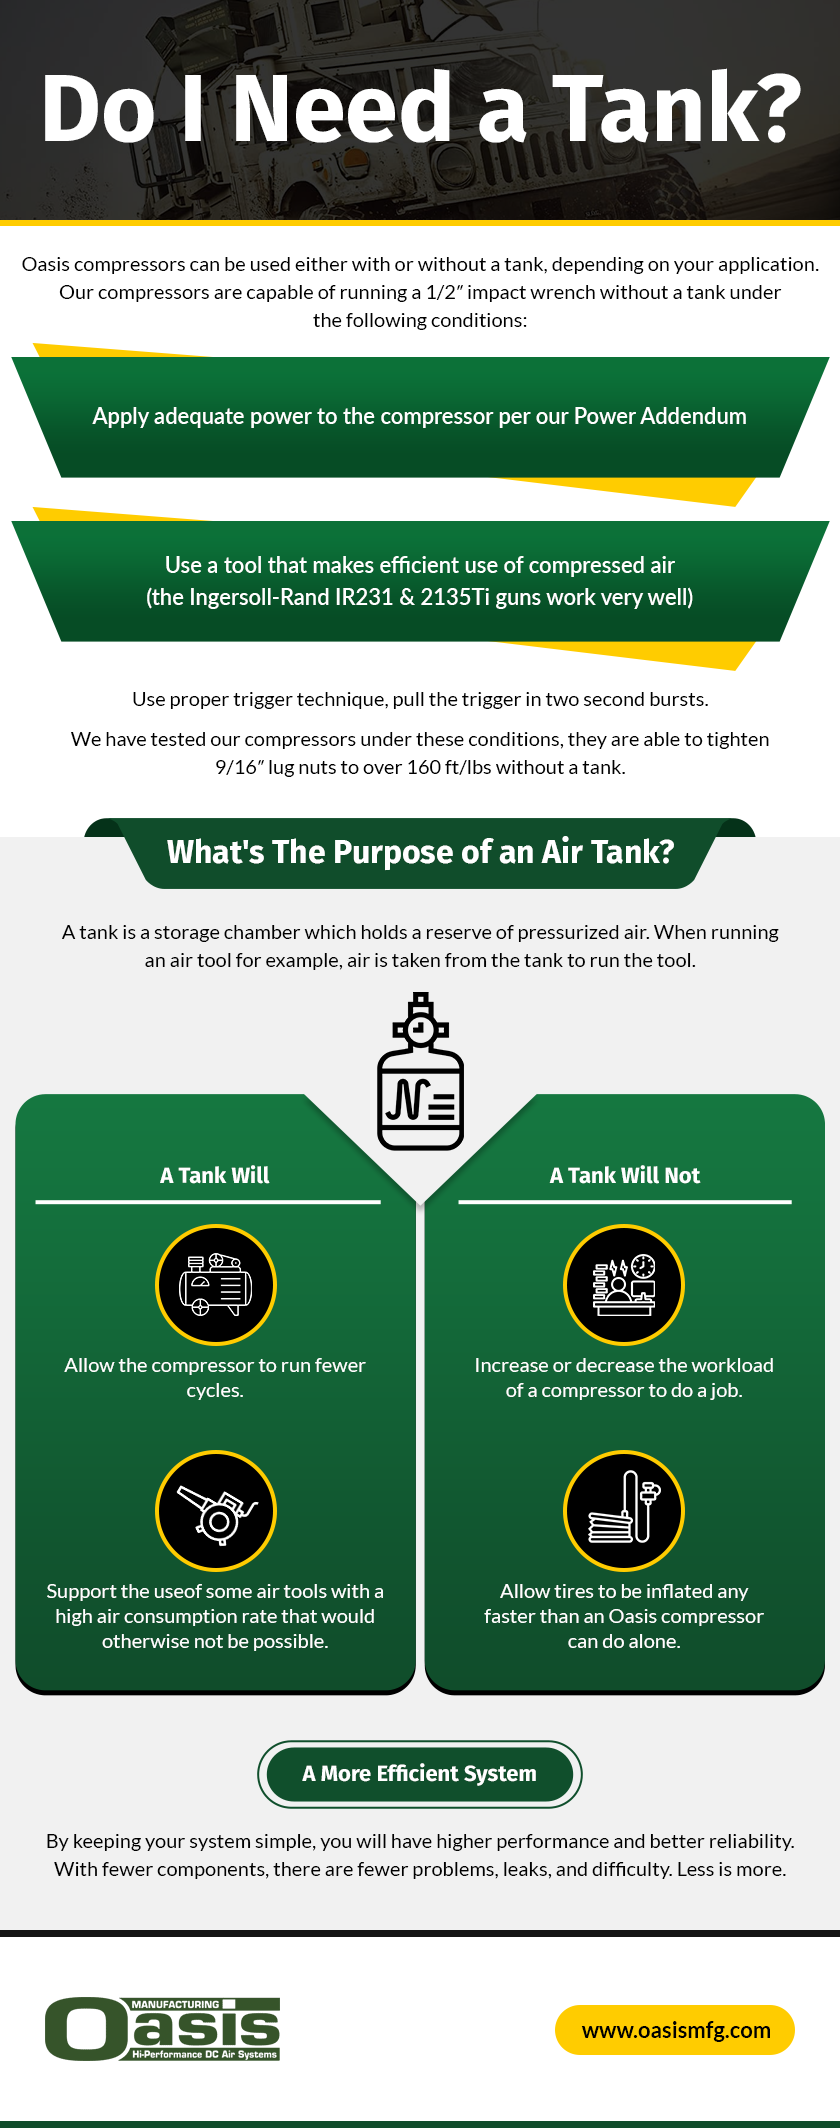
Oasis compressors can be used either with or without a tank, depending on your application. Our compressors are capable of running a 1/2″ impact wrench without a tank under the following conditions:
- Apply adequate power to the compressor per our Power Addendum
- Use a tool that makes efficient use of compressed air (the Ingersoll-Rand IR231 & 2135Ti guns work very well)
- Use proper trigger technique, pull the trigger in two second bursts.
We have tested our compressors under these conditions, they are able to tighten 9/16″ lug nuts to over 160 ft/lbs without a tank. We are happy to help you determine the best system for your needs. Please call us for tech support!
Pressure Up Rates
| Tank Size |
Pressure |
Min:Sec 12vdc |
Min:Sec 24vdc |
| 5 Gallon |
0-150 psi |
0:54 |
0:51 |
| 5 Gallon |
120-150 psi |
0:11 |
0:10 |
| 10 Gallon |
0-150 psi |
1:47 |
1:40 |
| 10 Gallon |
120-150 psi |
0:22 |
0:20 |
WHAT'S THE PURPOSE OF AN AIR TANK?
A tank is a storage chamber which holds a reserve of pressurized air. When running an air tool for example, air is taken from the tank to run the tool. As pressure in the tank drops, a pressure switch turns a compressor on to re-pressurize the tank. It works the same way that an alternator recharges a battery after power is used from it.
A Tank Will…
- Allow the compressor to run fewer cycles, minimizing the stress on the compressor and increasing life expectancy.
- Support the use of some air tools with a high air consumption rate that would otherwise not be possible. Alone, the Oasis compressors will run ½” impact wrenches, but the use of ¾” or larger impact wrenches, die grinders, sanders, etc. require a tank.
A Tank Will Not…
- Increase or decrease the workload of a compressor to do a job. If you take air out of a tank and put it in a tire, the compressor must work the same amount as it would if you had no tank at all.
- Allow tires to be inflated any faster than an Oasis compressor can do alone. A tank will slightly reduce the inflation time of other slower compressors, but Oasis compressors are so efficient that a tank doesn’t make any difference.
A More Efficient System
Compared to systems that require multiple compressors to meet a high demand for air, our superior performance makes it possible to meet the needs of your application with a much simpler system.
By keeping your system simple, you will have higher performance and better reliability. With fewer components, there are fewer problems, leaks, and difficulty. Less is more.

AIR COMPRESSOR INSTALLATION PROCEDURE
Air compressor installation is pretty straightforward; however, it’s important to understand the basics regarding the capacity of your compressor, the tools and materials you’ll require for installation, and the proper installation procedure.
Position Your Compressor
Choose the proper location to position your compressor. Oasis compressors are small and can be mounted almost anywhere, including in a truck bed, in a ventilated trunk, in a storage compartment of a utility truck, under a service truck, on the front bumper of an off-road vehicle, on a detachable mount, or to the chassis of a vehicle.
Provide Adequate Space and Protection
Ensure you have enough room for your operations and tool applications. Your compressor should also be shielded from contaminants and the elements to ensure optimal performance. If you mount your compressor to the chassis of a vehicle, be sure to protect it with a splash guard to keep road muck and debris off the compressor.
Provide Adequate Power
The shorter your power cables, the better your compressor will perform. Mounting an isolated auxiliary battery next to the compressor and cutting the cables down to minimum length will provide maximum performance. Use a deep cycle battery. Absorbed Glass Mat (AGM) batteries work extremely well for this application and are highly recommended. If you must mount the compressor farther away than the 10’ power cables will allow, use larger diameter cable instead of #4AWG cable provided. Be sure your charging system is in top condition, and all connections are clean and secure. Some applications may require an upgrade to the charging system and/or multiple batteries.
Choose Proper Components
Now that your compressor is in the proper position, it’s time to select and install the required fittings and hose lengths for your specific application. Install a high temperature air line (a stainless steel braided, teflon lined hose is recommended) from the discharge port in the head of the compressor to a tank or point of use fitting. Install a pressure switch rated at 200 psi or less, on the tank (if using one) or air line (if not) coming from compressor, to automatically control the compressor as pressure is used from the system (refer to the owner’s manual for a wiring diagram that shows how to connect the pressure switch, and a dash mounted switch if desired, to the compressor’s control module).
Stabilize the Compressor
To prevent damage and minimize the sound level coming from the compressor, you can reduce vibration levels by placing it on isolator pads.
Check Owner’s Manual
Once you’ve implemented the proper components, consult the owner’s manual for a wiring diagram, and to determine the right start-up procedure.
Power On and Activate Tools
Once you understand the correct start-up procedure for your compressor, you can power it on and activate your pneumatic tools.
FACTORS TO CONSIDER
To ensure that your compressor will run smoothly and efficiently, consider the following factors:
-
Ventilation. Compressors generate high levels of heat, so it’s important to install your compressor in an area with proper ventilation and airflow. Mounting inside the engine compartment or near exhaust components is NOT recommended.
-
Service access. Install or mount your compressor in a location with adequate access for maintenance such as checking the oil and replacing the filter element. You can measure your floor space and doorways to ensure the compressor will have proper clearance.
-
Mount to a sturdy surface. To prevent damage, make sure you horizontally mount your compressor to a flat and stable surface.
-
Under vehicle installation. When mounting your compressor under a vehicle, fabricate a splash guard to protect it from mud, dirt, and other road debris, and remotely locate the intake filter to a dry location with a length of hose.
-
Protect from salt. If your compressor will be operating in a marine environment or in an area where roads are salted for the winter, use our Fluid Film™ on the commutator and motor brushes as preventative maintenance.
-
Sufficient power. To prevent the motor from shutting off, stalling, or burning up, make sure your compressor has access to and receives sufficient power.
-
Safety. Use an appropriate safety valve to protect all the components of your compressed air system. Also, make sure you use the proper fuses.


